My Favorite Recipe for Homemade Bread
Look at the ingredients on your bread. This recipe has just six: water, yeast, honey, flour, extra virgin olive oil, and salt. NOW WE'RE TALKING!
I follow this recipe with a few caveats: I use white or bread flour for the first 3 cups and again to knead it on the pastry board. Then I use wheat flour for the rest of the recipe. I only use local honey with the honeycomb in it (i.e., farm to jar). And I only use extra virgin olive oil for all my breads.
All my comments are bolded. The original recipe uses all bullet points.
I hope you love this recipe! There's nothing like the smell of homemade bread in the oven! Yummy!
Ingredients
▢ 2 cups warm water (105-115 degrees)
▢ 1 Tablespoons active dry yeast*
▢ 1/4 cup honey or sugar
▢ 2 teaspoons salt
▢ 2 Tablespoons oil (canola or vegetable)
▢ 4 - 5 1/2 cups all-purpose or bread flour*
Instructions
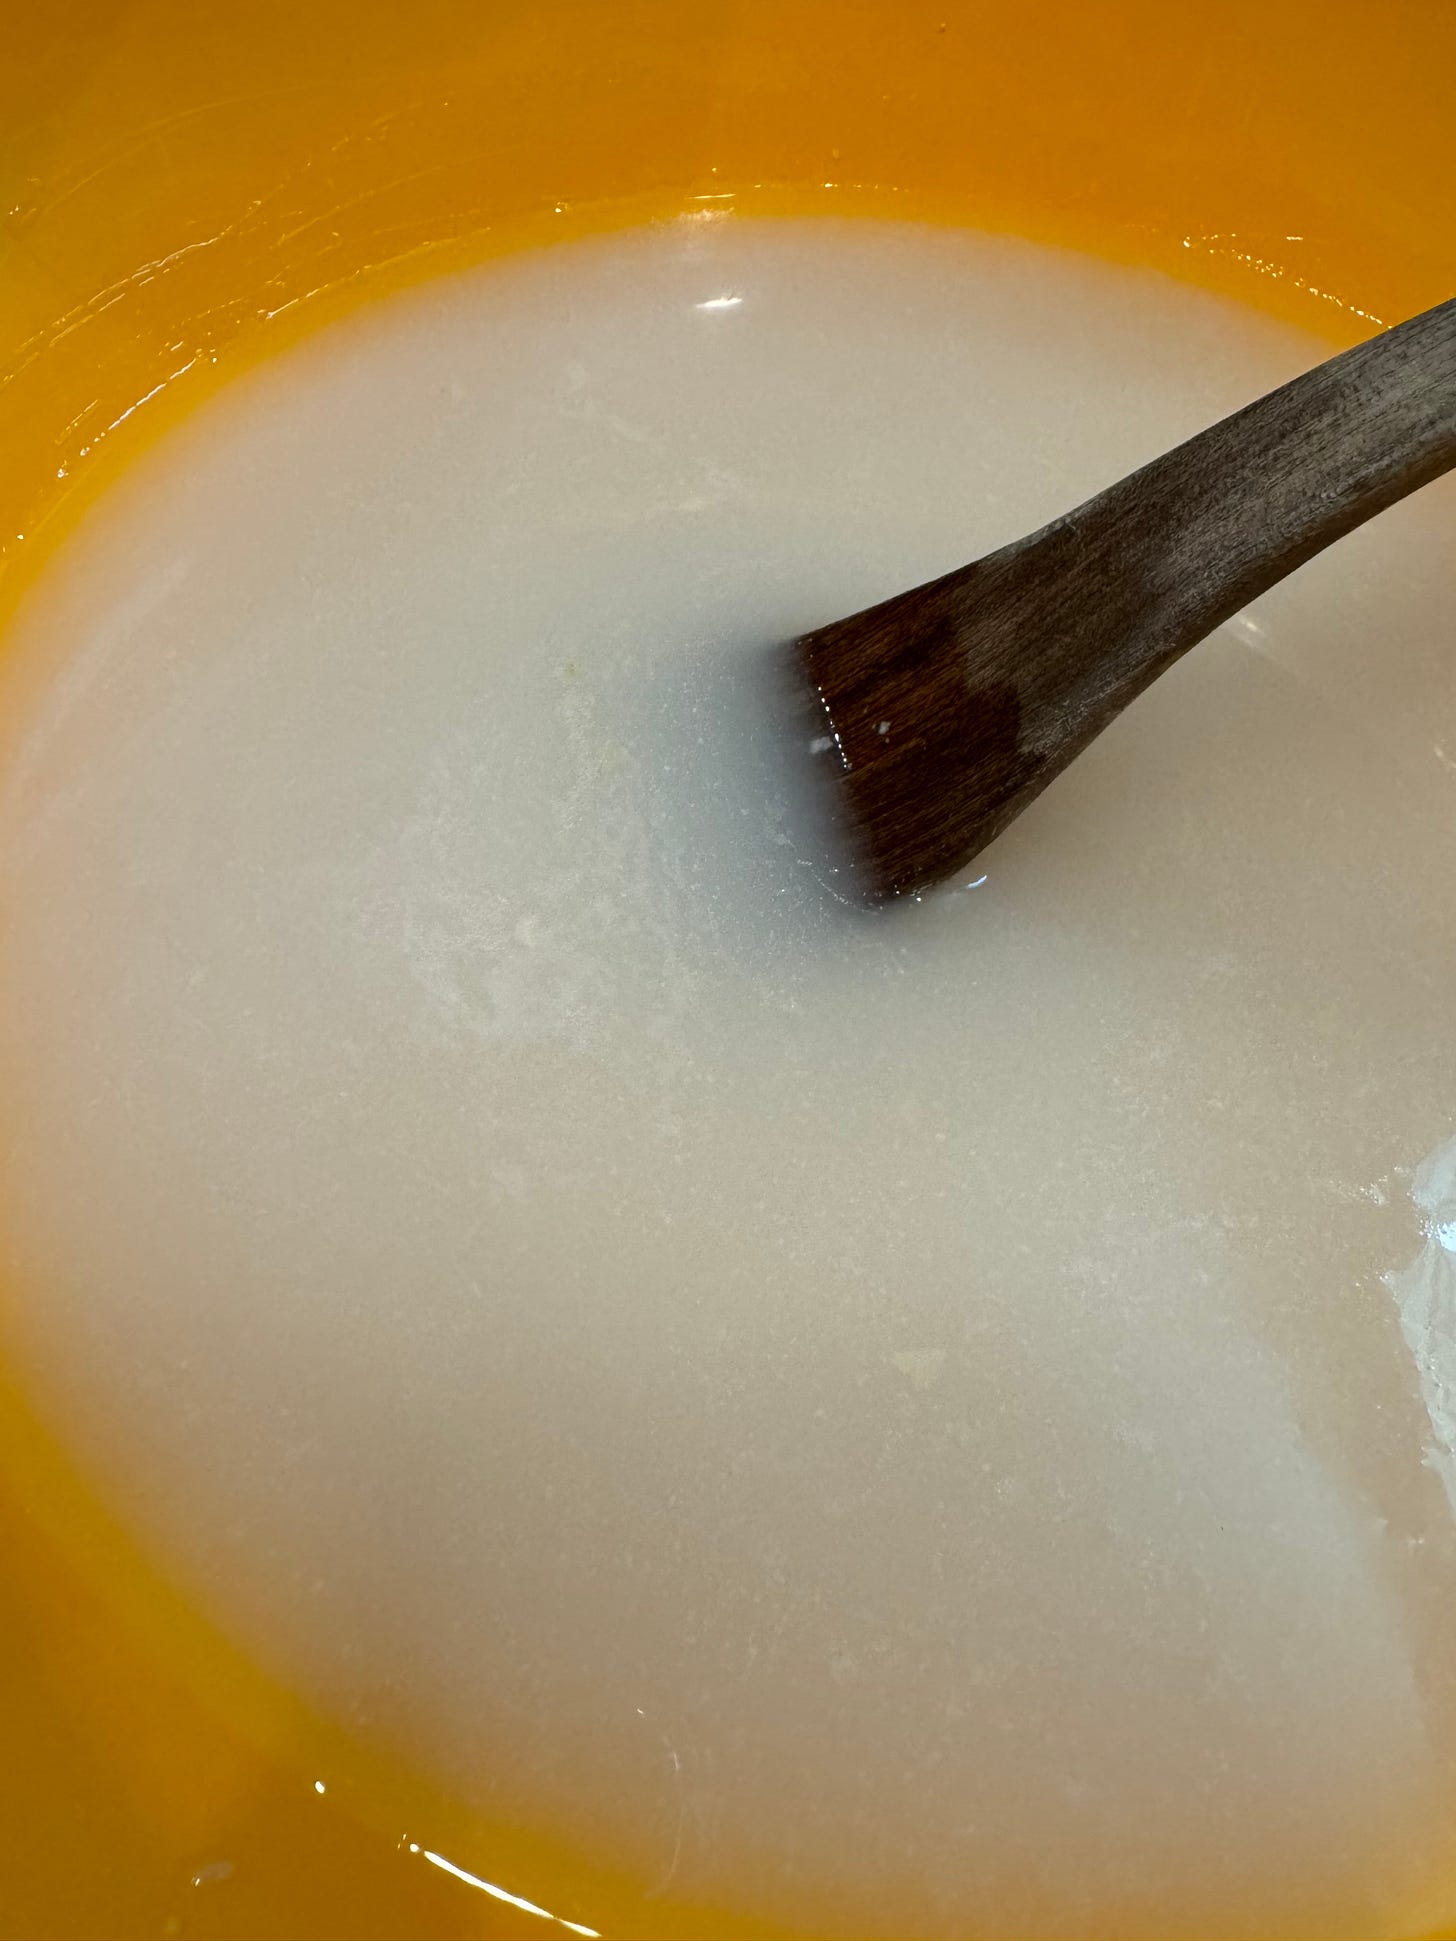
Prepare the dough: In a large bowl or stand mixer add the yeast, water and a pinch of the sugar or honey. Allow to rest for 5-10 minutes until foaming and bubbly. (This is called “proofing” the yeast, to make sure it is active. If it doesn’t foam, the yeast is no good, and you need to start over with fresh yeast).
I just use a bowl and wooden spoon. Because I use honey instead of sugar, I use a non-metal bowl and a wooden spoon. Remember that metal inactivates the three essential enzymes in honey; always use wooden spoons:)
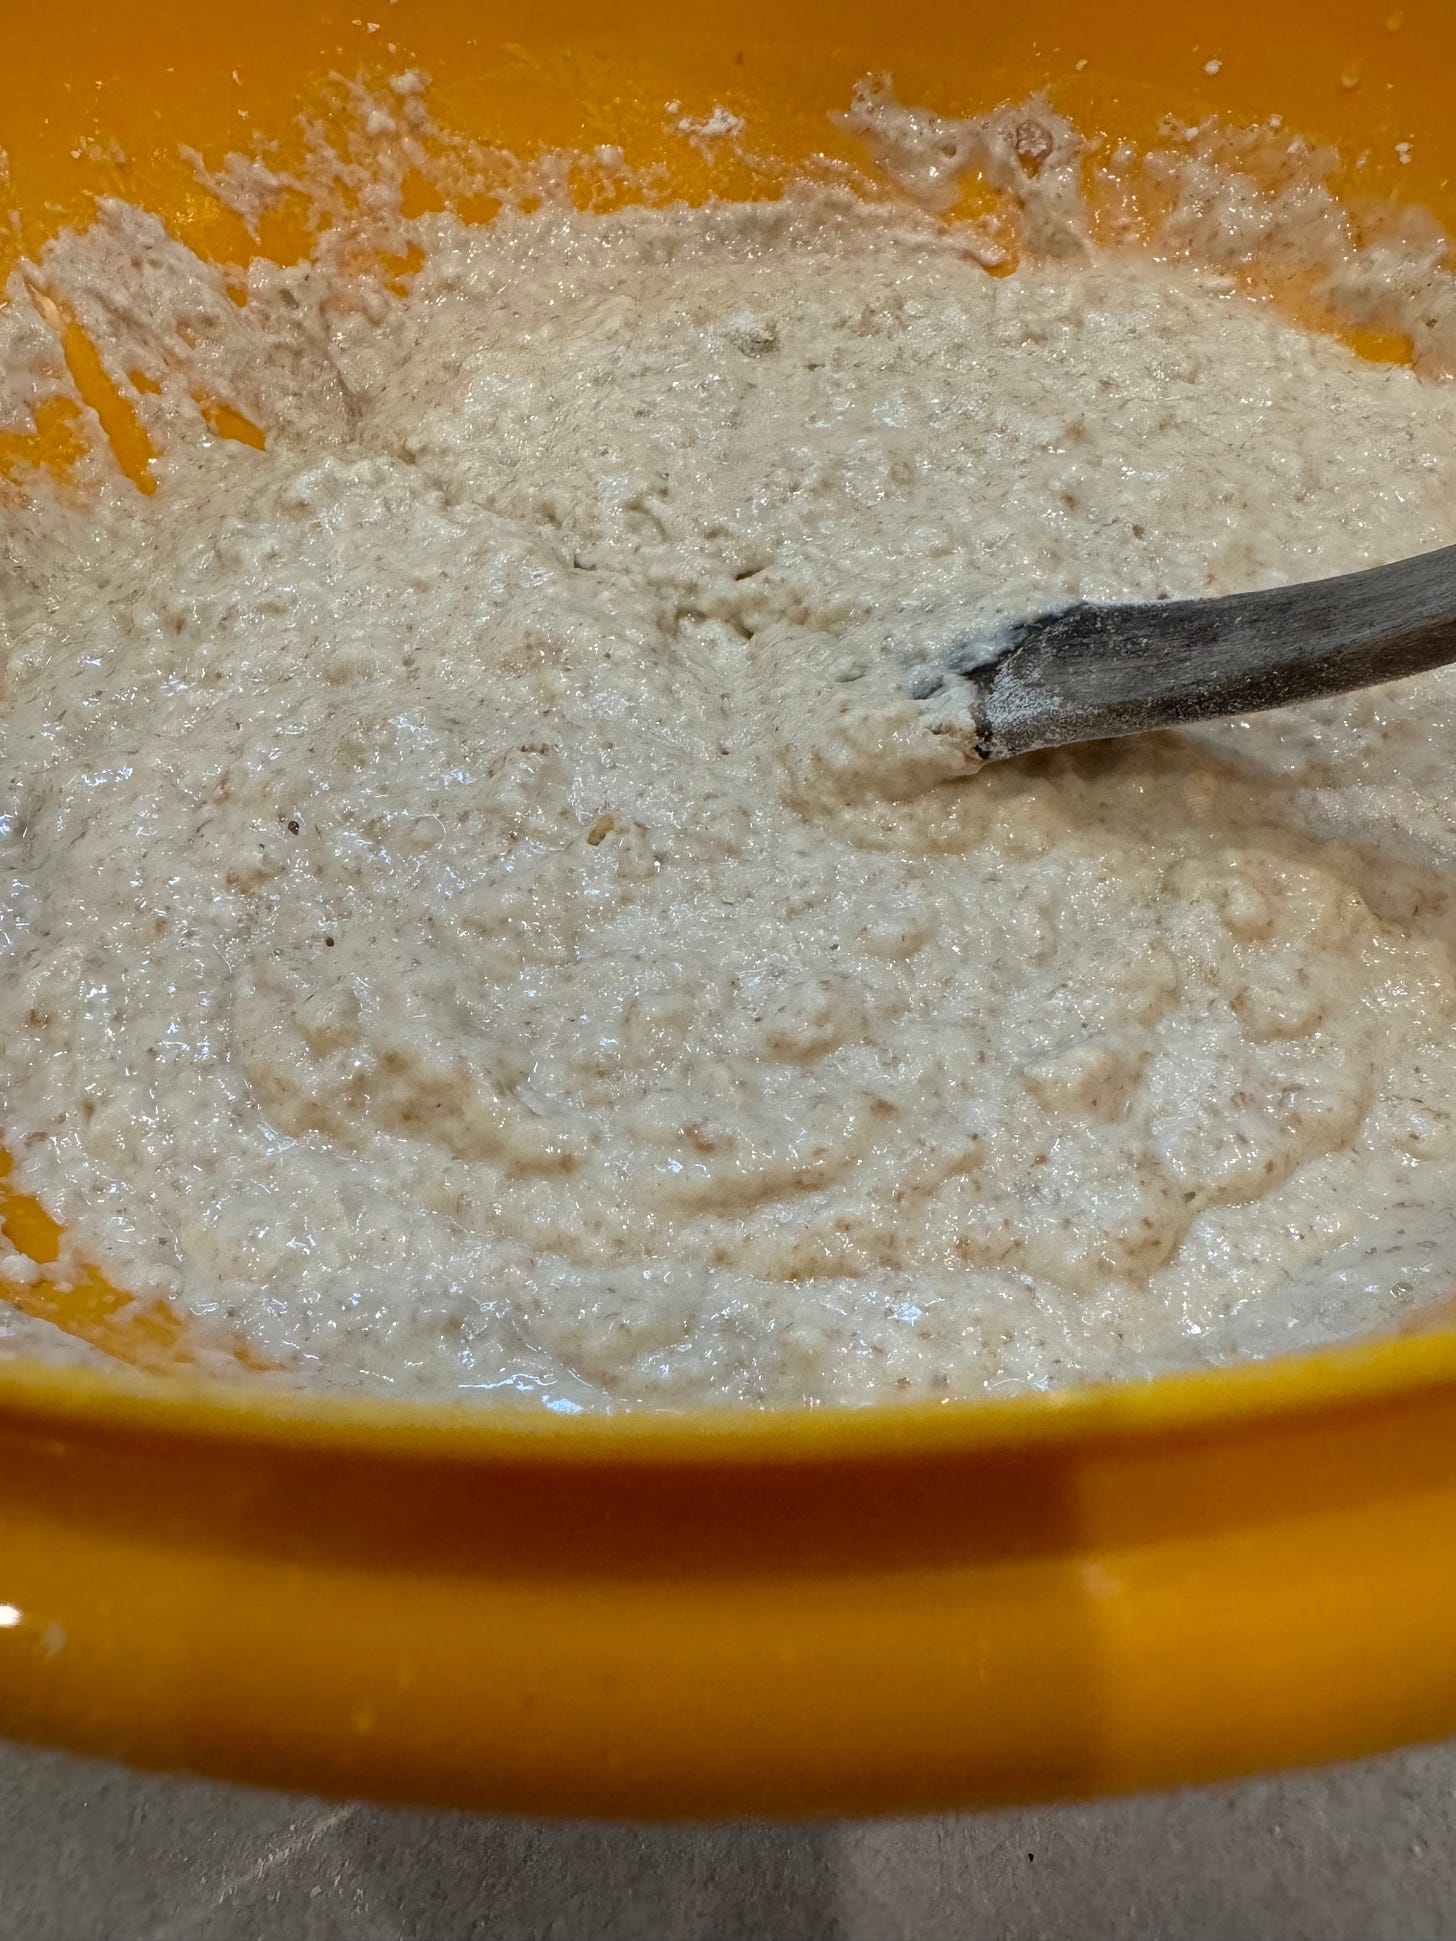
Add remaining sugar or honey, salt, oil, and 3 cups of flour. Mix to combine.
It looks and feels like a thick pancake batter.
Add another cup of flour and mix to combine.
With a total of 4 cups of flour, a large glob sticks to the spoon.
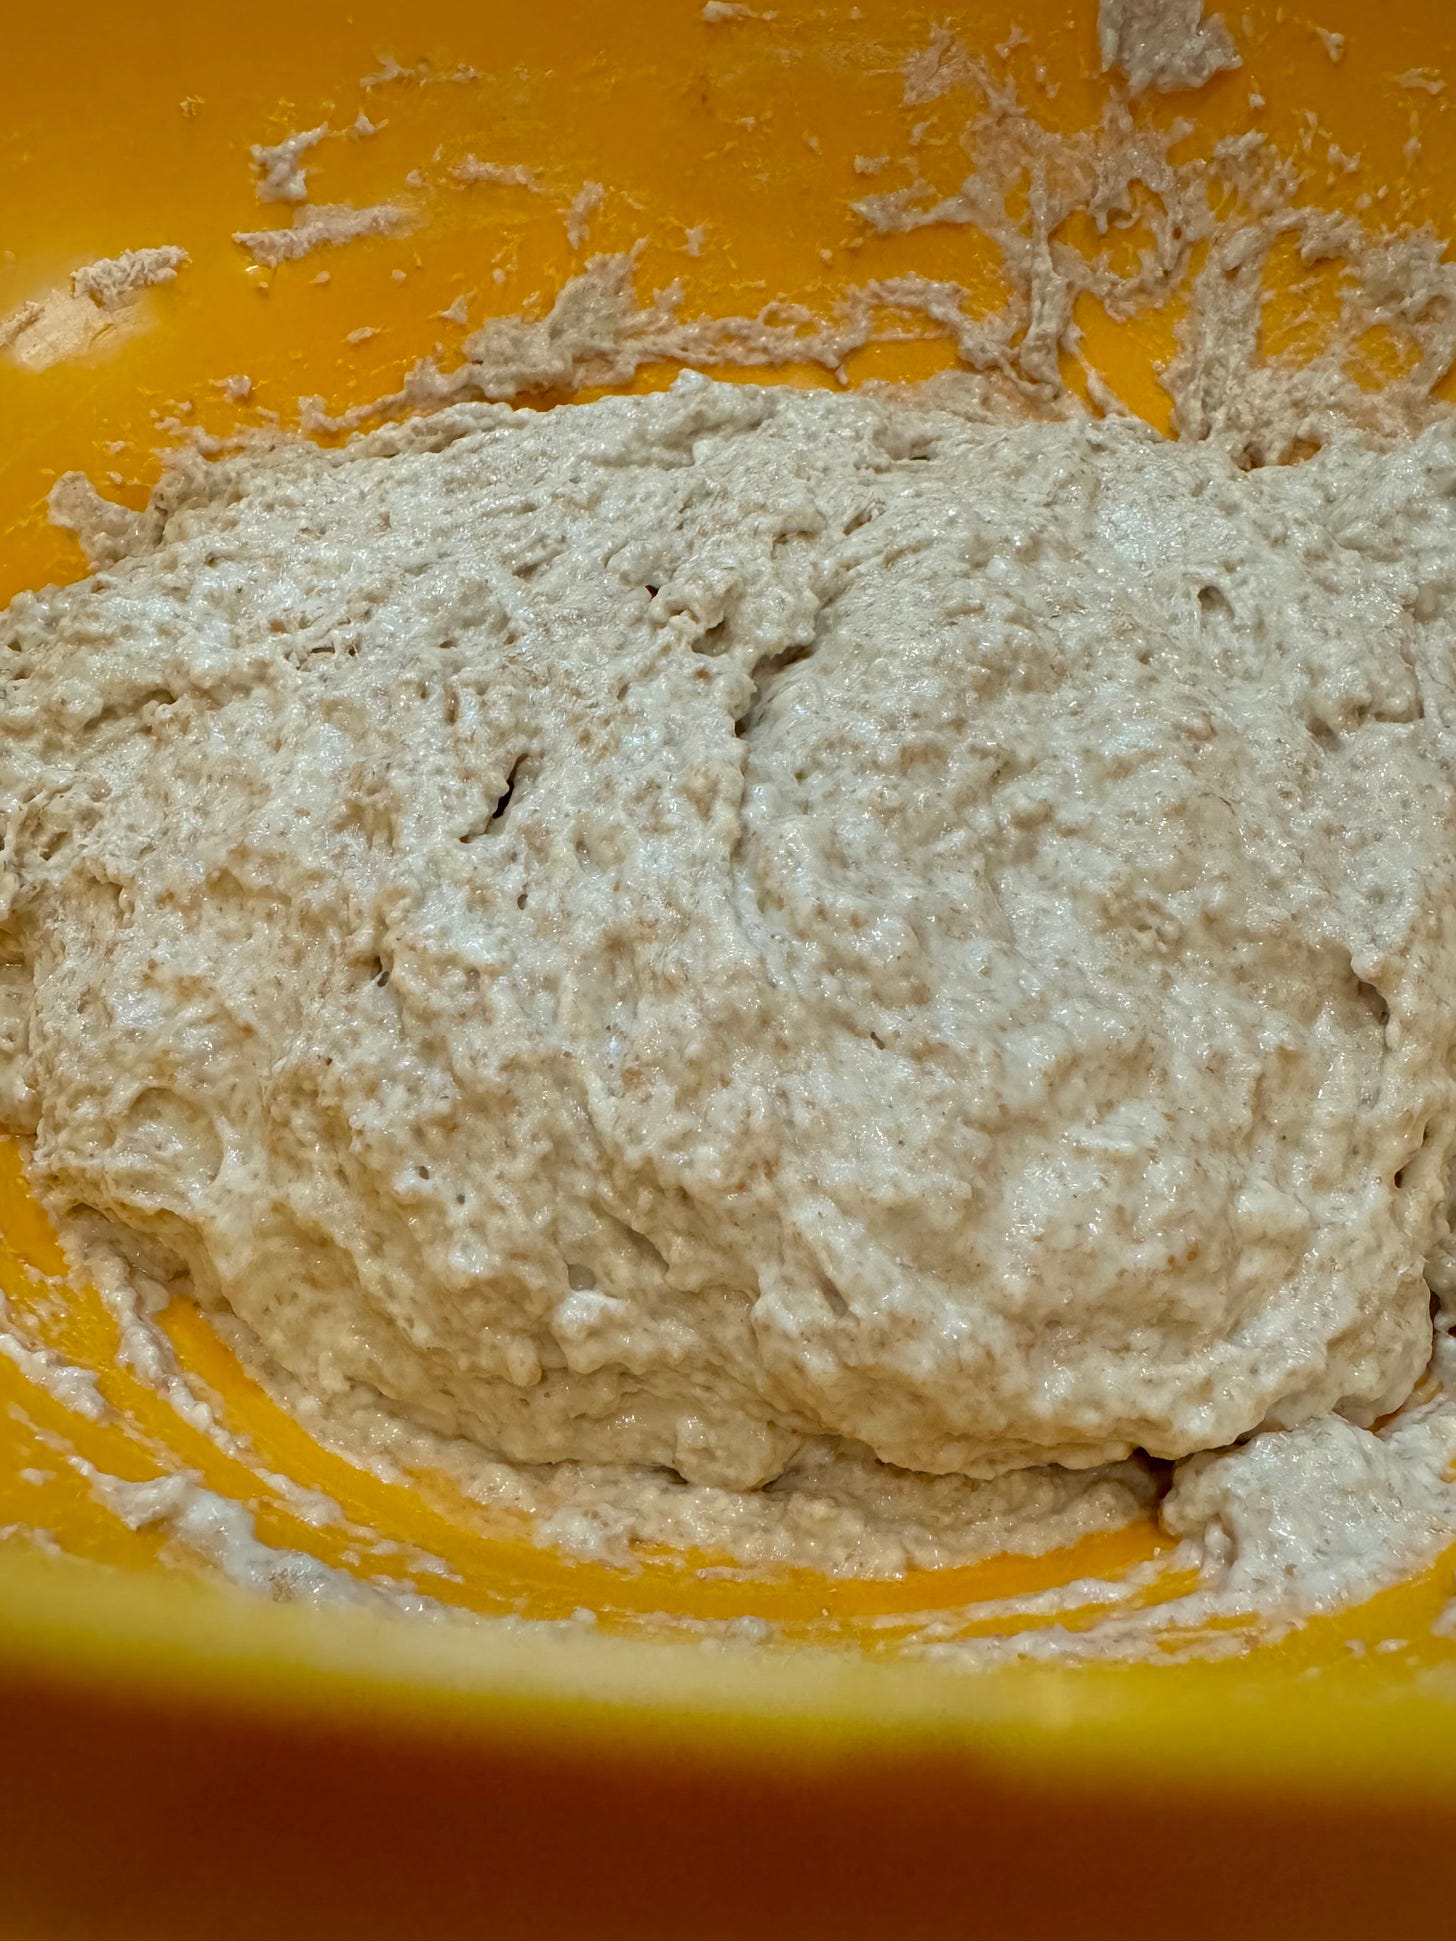
With the mixer running add more flour, ½ cup at a time, until the dough begins to pull away from the sides of the bowl.
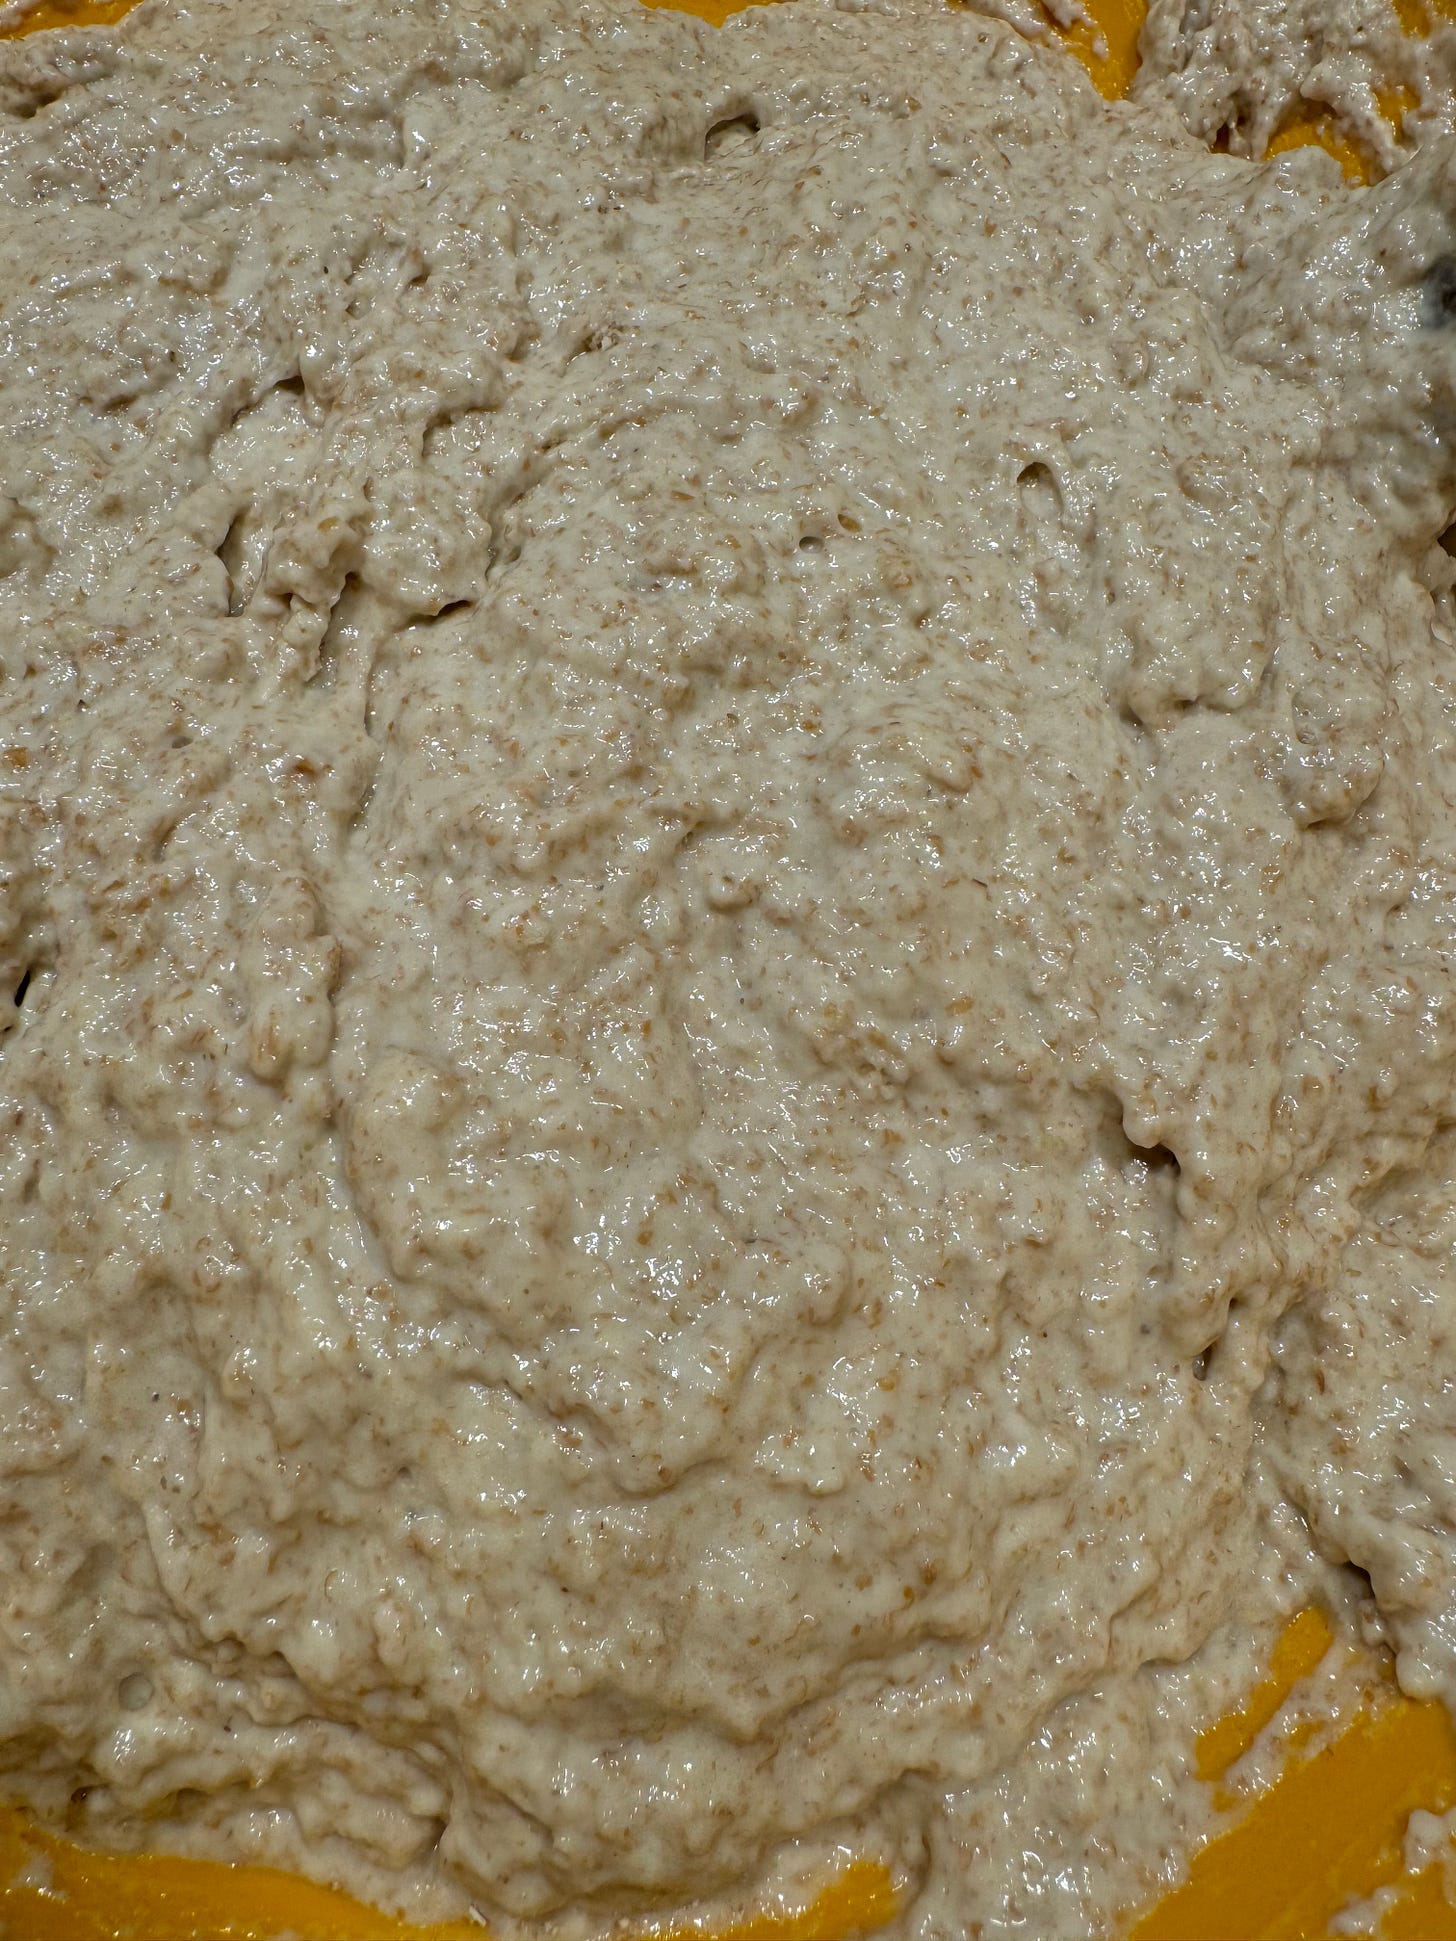
This ⬆️is after an additional 1/2 cup, 4 1/2 cups total. Note that the entire mound of dough stays in the center. As seen in the closeup below, the dough glistens, reflecting light ⬇️
To this ⬆️, I add an additional 1/2 cup flour, for a total of 5 cups.
The dough should be smooth and elastic, and slightly stick to a clean finger, but not be overly sticky. Add a little more flour, if needed.
Knead the dough: Mix the dough for 4-5 minutes on medium speed (or knead with your hands on a lightly floured surface, for 5-8 minutes).
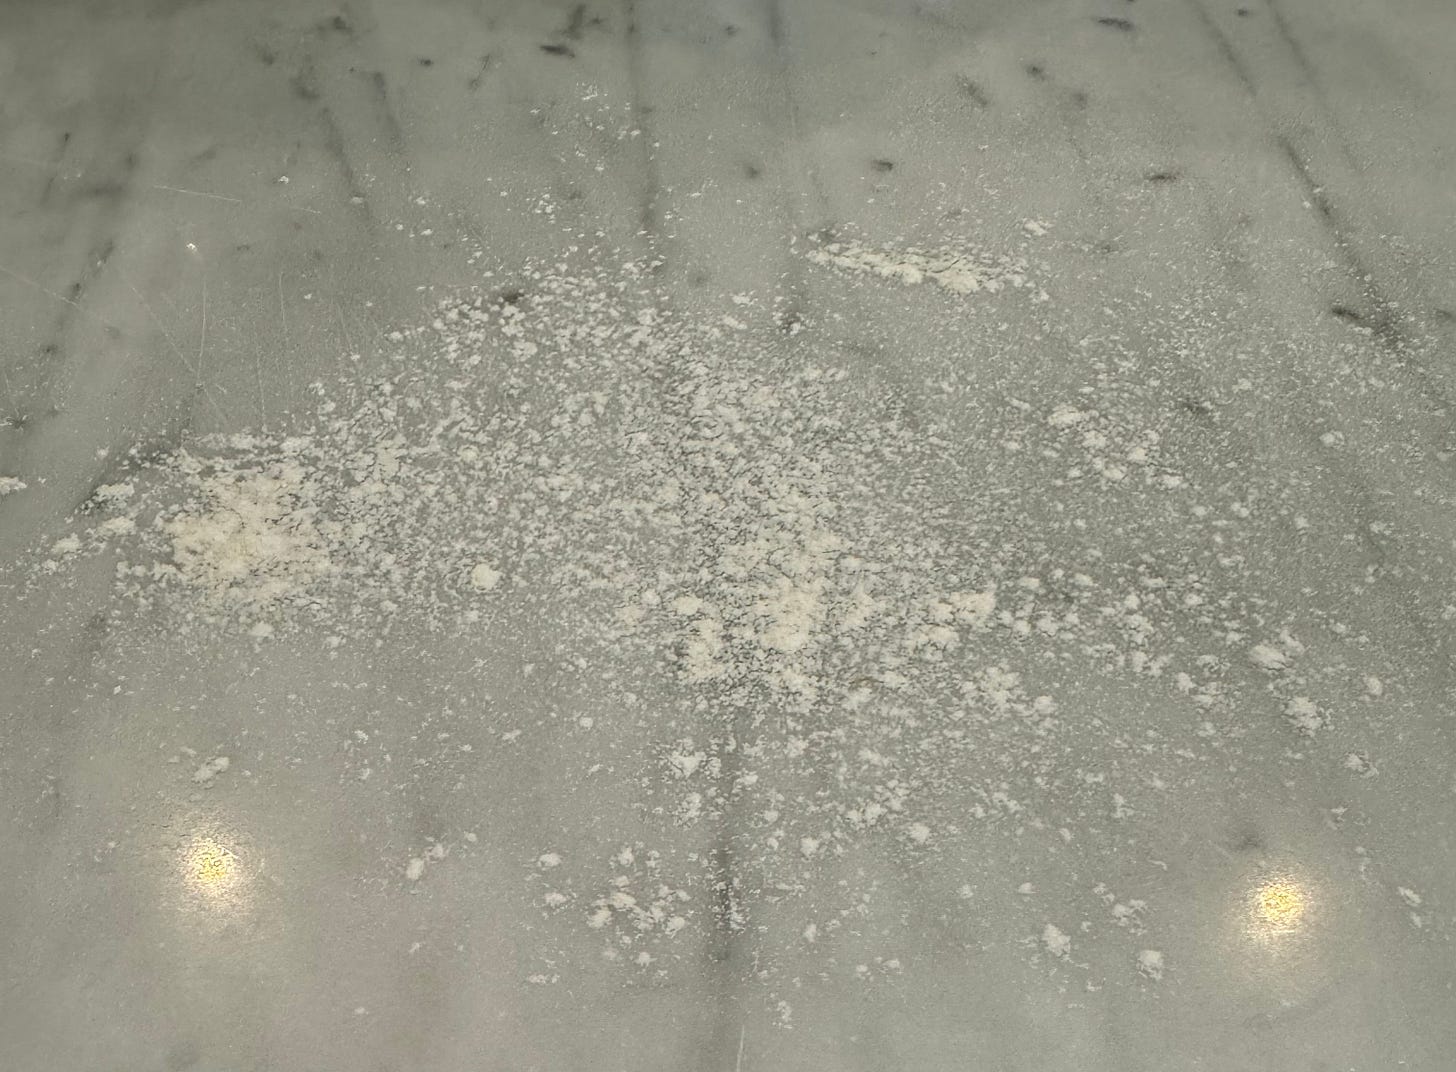
To knead the dough, I use a marble pastry board, sprinkled with flour ⬇️.
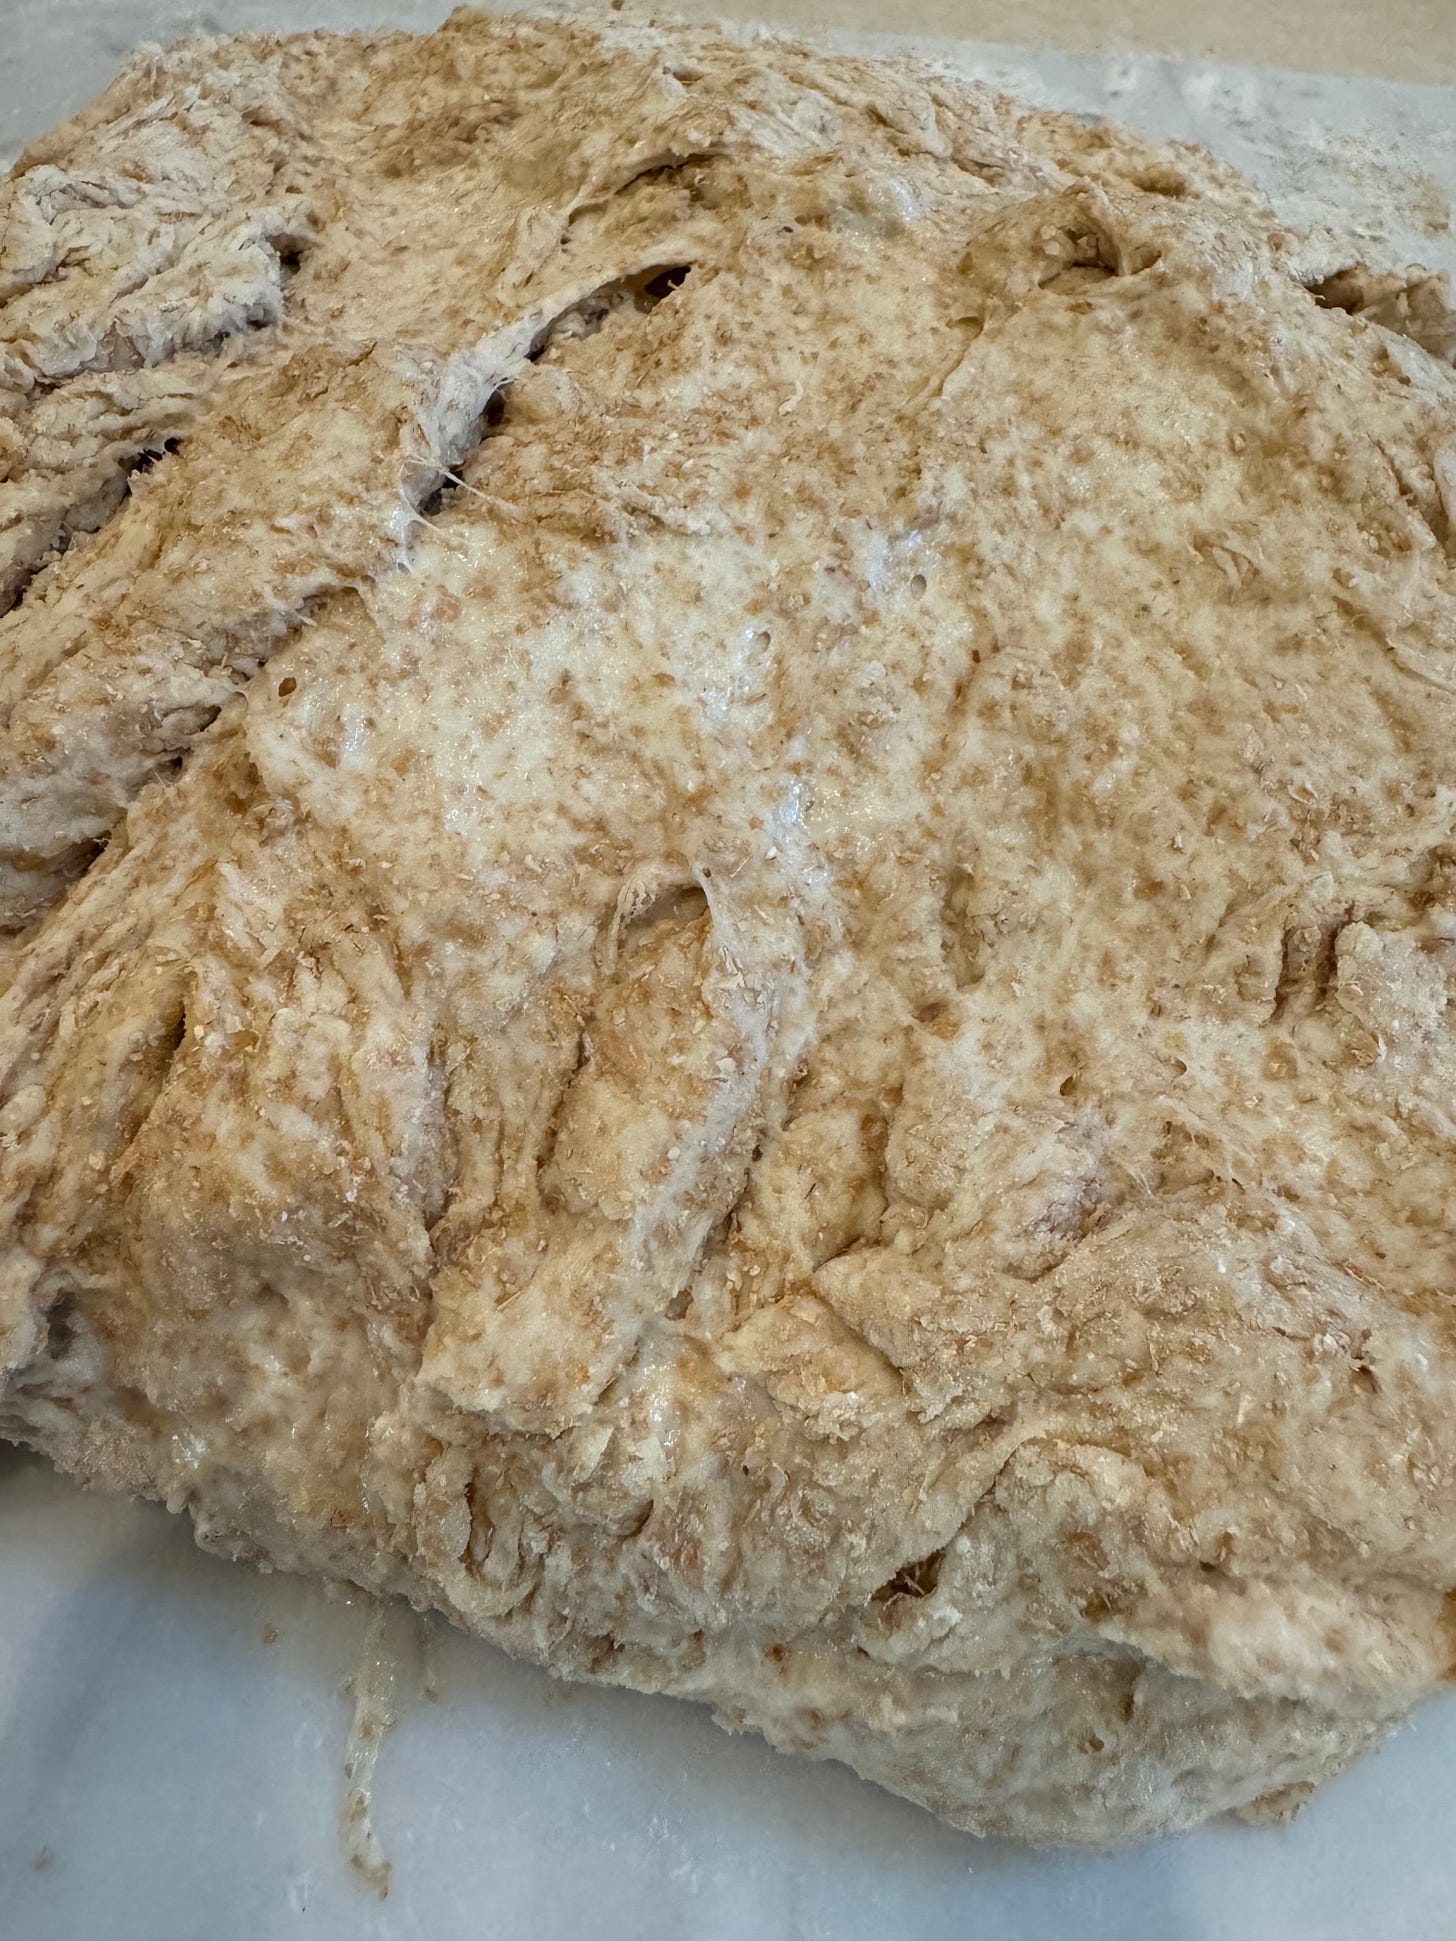
It falls out of the bowl in one giant, moist glob, to which I add more wheat flour, and then knead by hand ⬇️.
By the time I am done, today I have added about 5 1/2 total cups of flour. The dough appears dry in spots, with the lighter, active yeast areas glistening ⬇️!
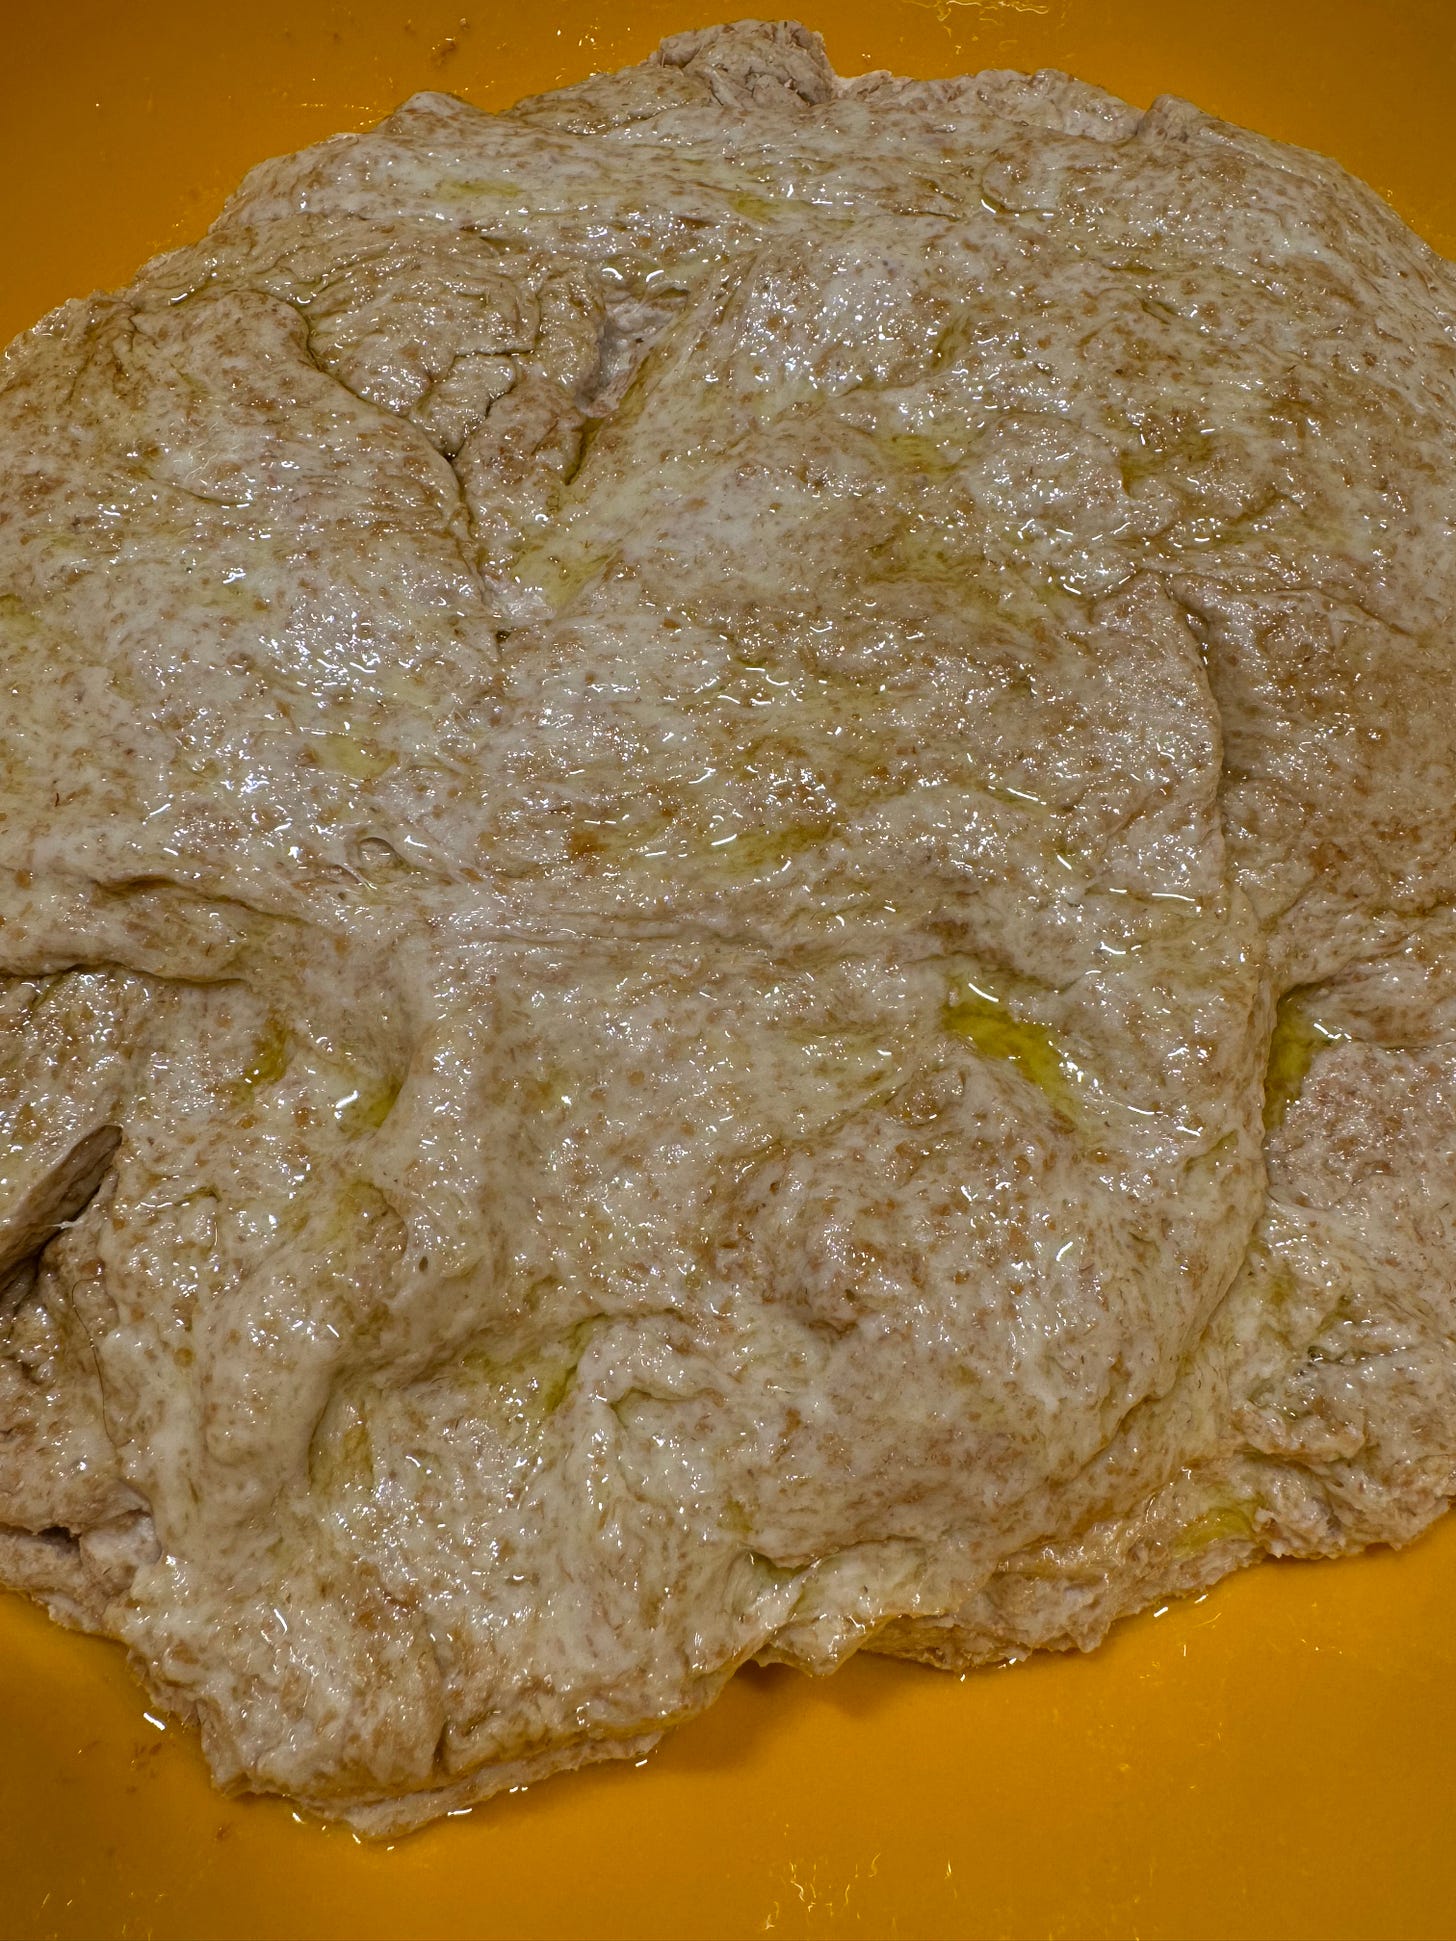
First Rise: Grease a large bowl with oil or cooking spray and place the dough inside, turning to coat. Cover with a dish towel or plastic wrap and allow to rise in a warm place* until doubled in size, about 1 ½ hours.
Here is my dough after flipping it over in olive oil:
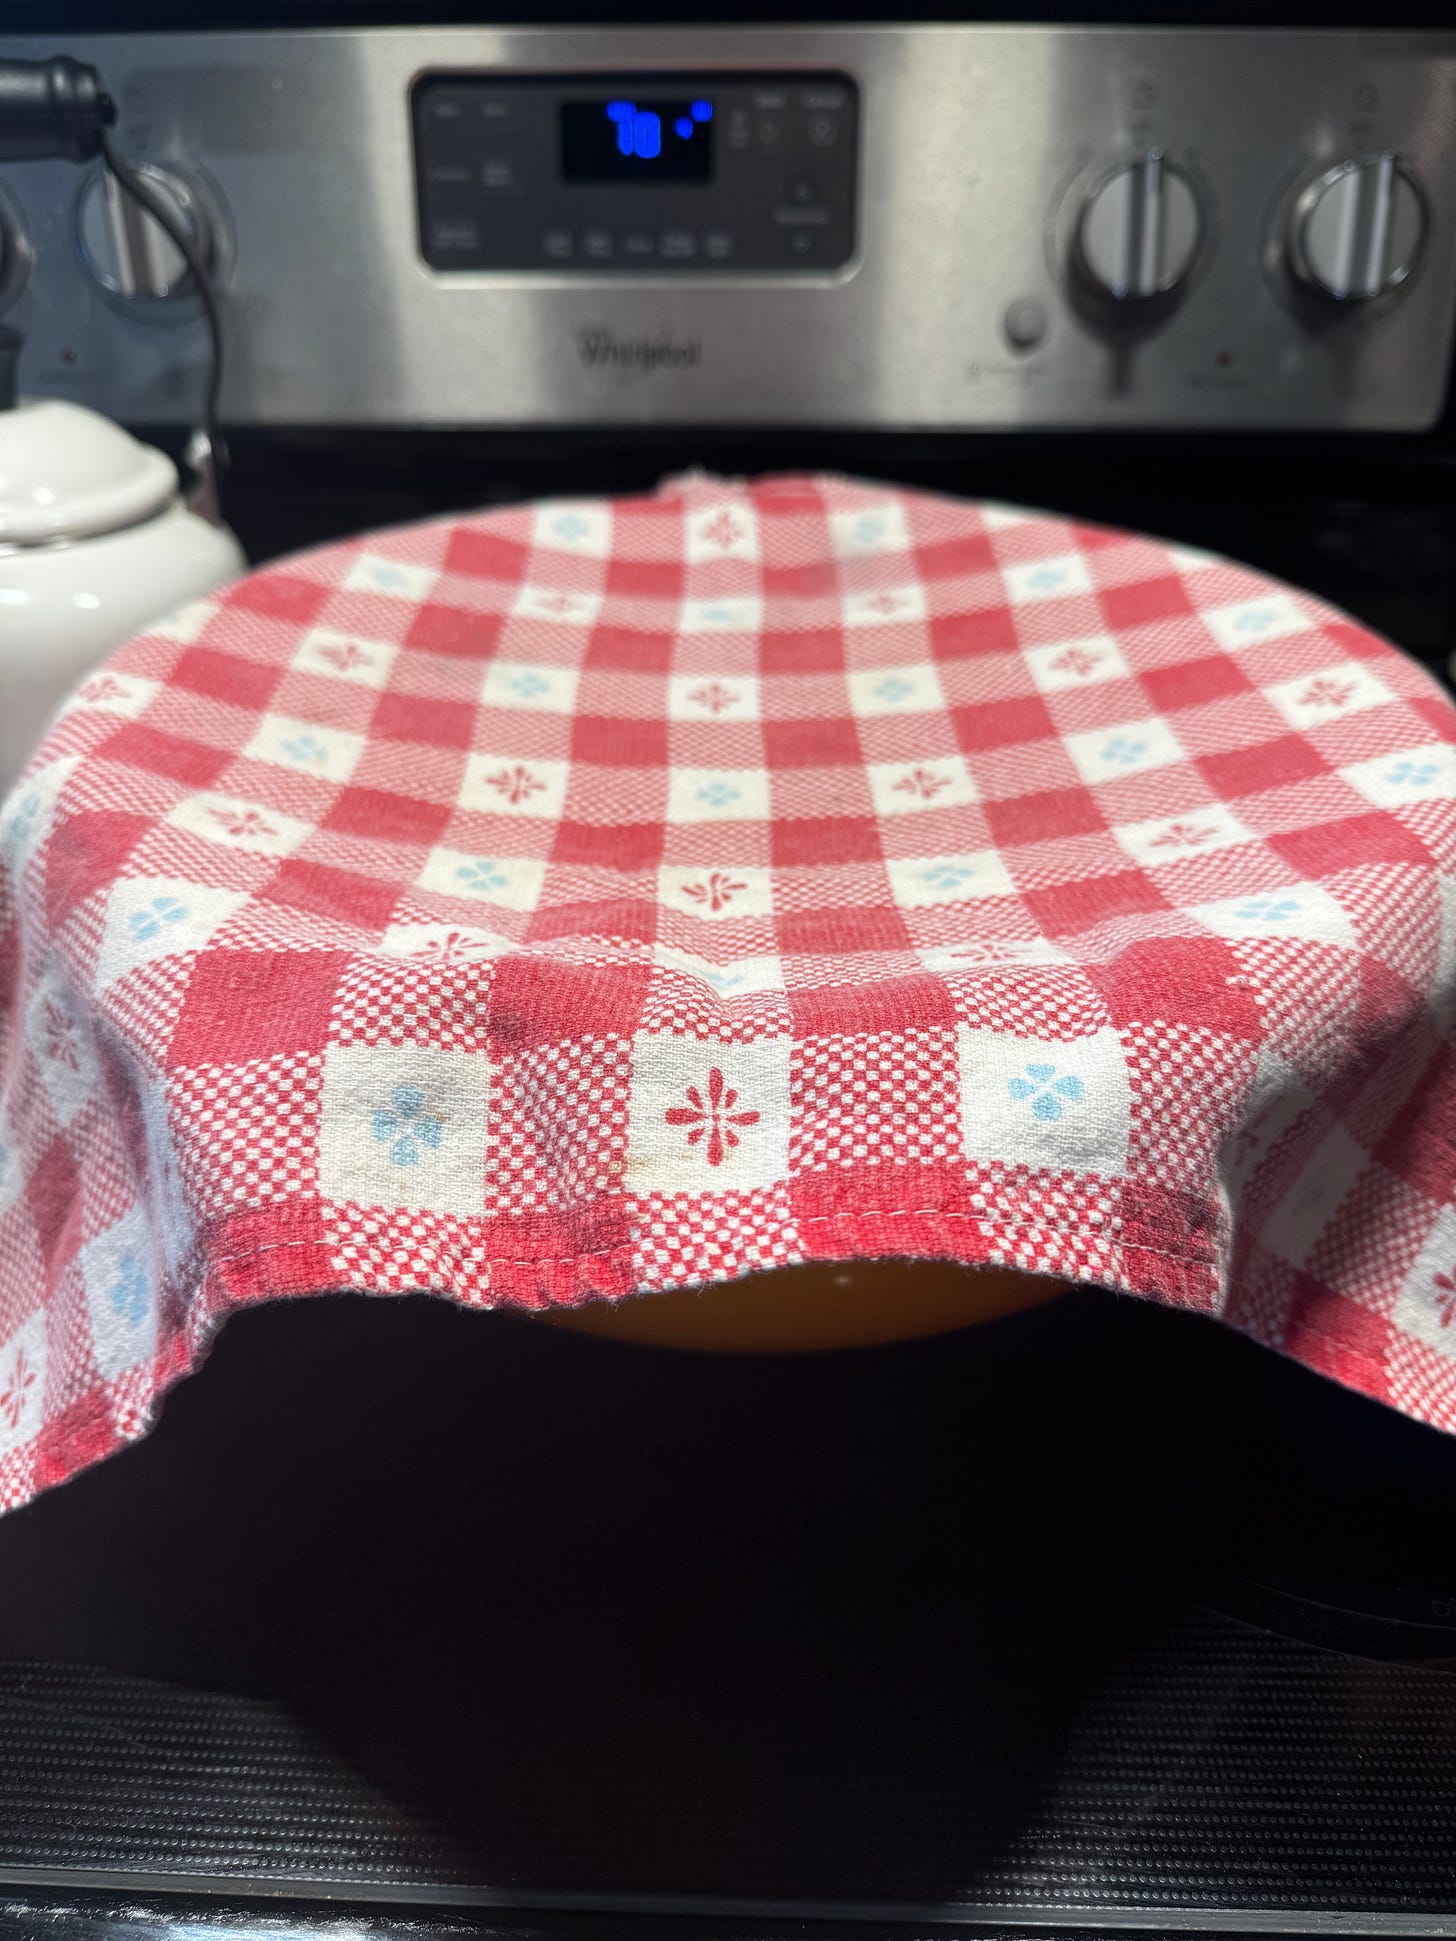
As much as possible, I don't like using plastic anything, so I cover mine with a kitchen towel, place it on top of the oven, and preheat it to 350F. As soon as the oven beeps, I turn the oven off and may open and close the oven door to let some heat rise. This seems to help the dough. I also leave the overhead stove light on and make sure it's not breezy by turning off my kitchen ceiling fan.
And I try not to peek until 90 minutes is up!
I clean up and prepare the bread pans. To avoid getting dough on my cleaning sponge, I simply use my gloved hand to rub the dough off with “elbow grease” and hot water.
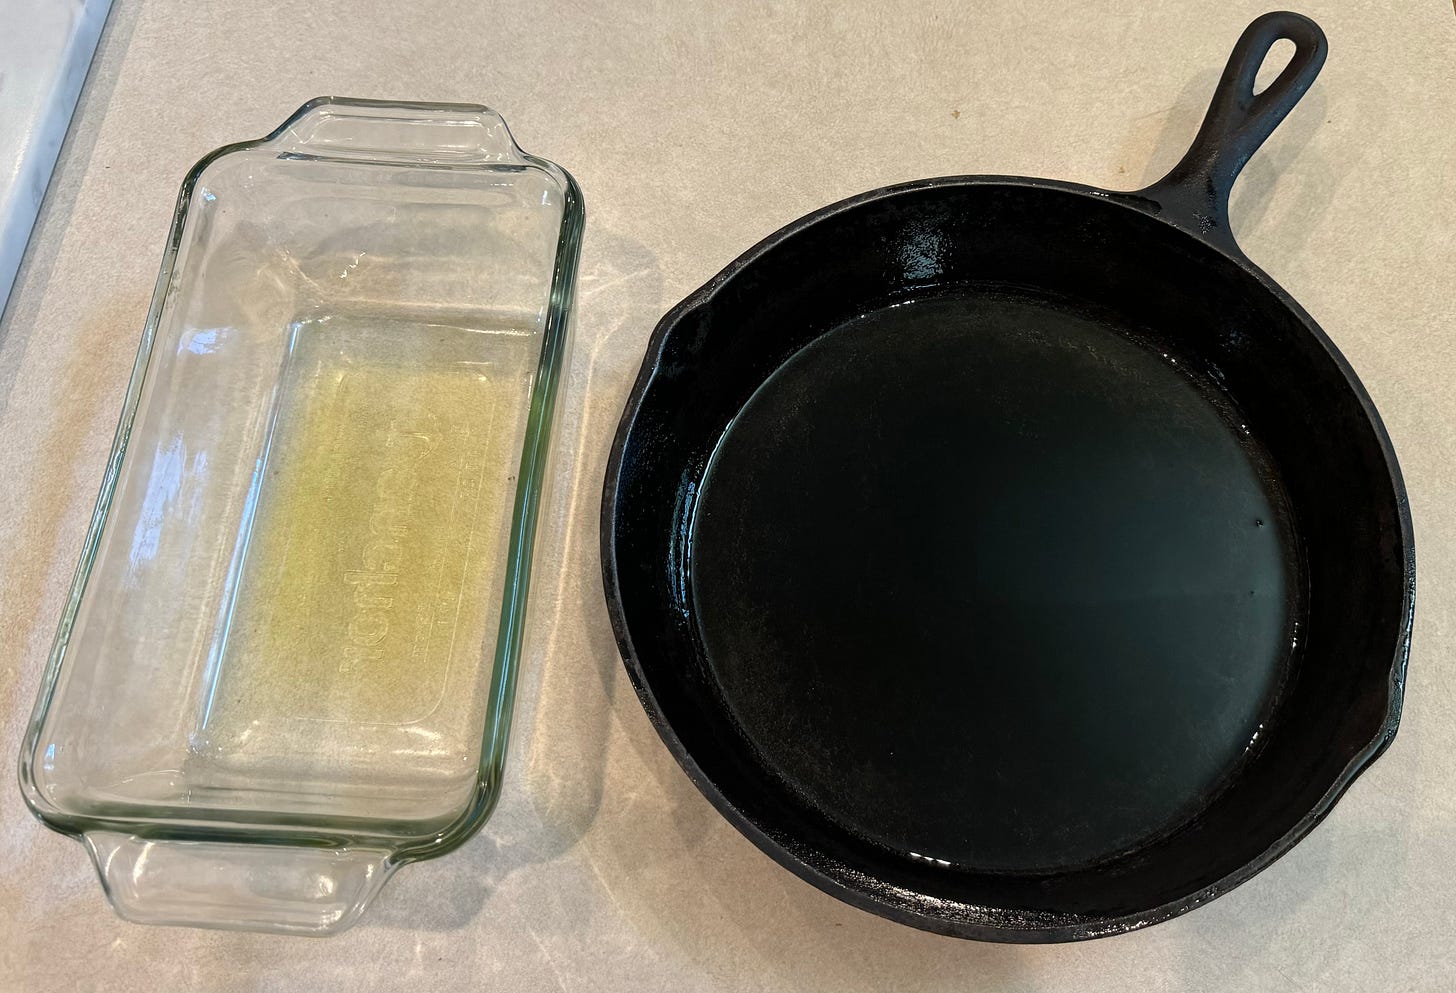
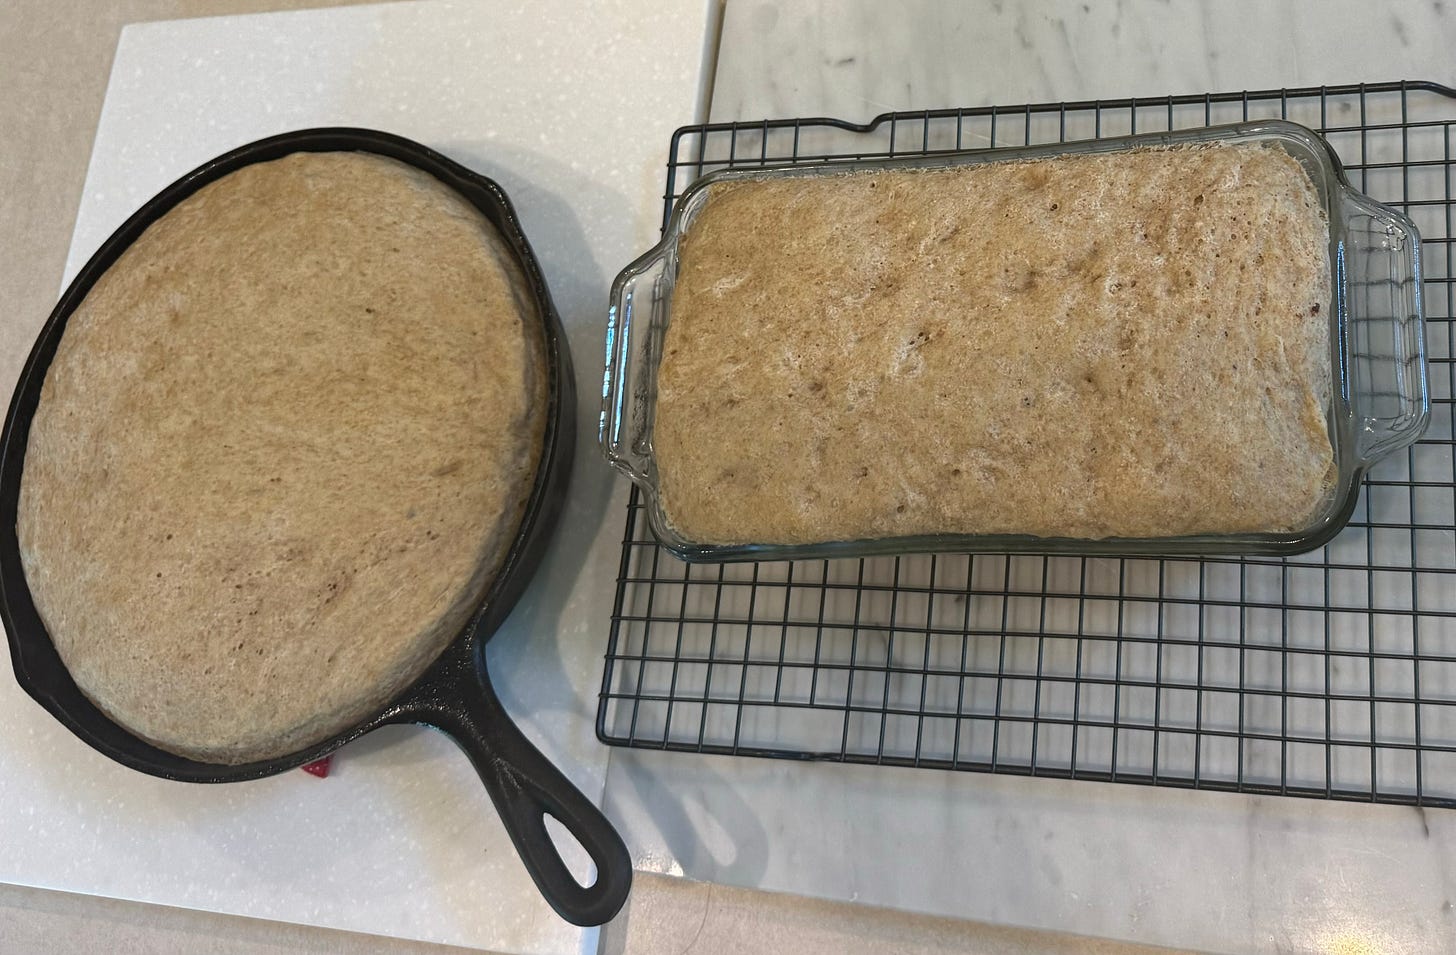
Today I am doing things a bit differently by baking one loaf in a regular bread pan, and the second loaf in a cast iron skillet:) I only use extra virgin olive oil, no oil sprays.
Spray two 9x5'' bread pans generously with cooking spray on all sides. (I also like to line the bottom of the pans with a small piece of parchment or wax paper, but this is optional.)
I am very generous with the olive oil ⬆️.
I don't put wax paper on the bottom or sides of the loaf pans, because I find that they stick, and I don't want to eat wax paper.
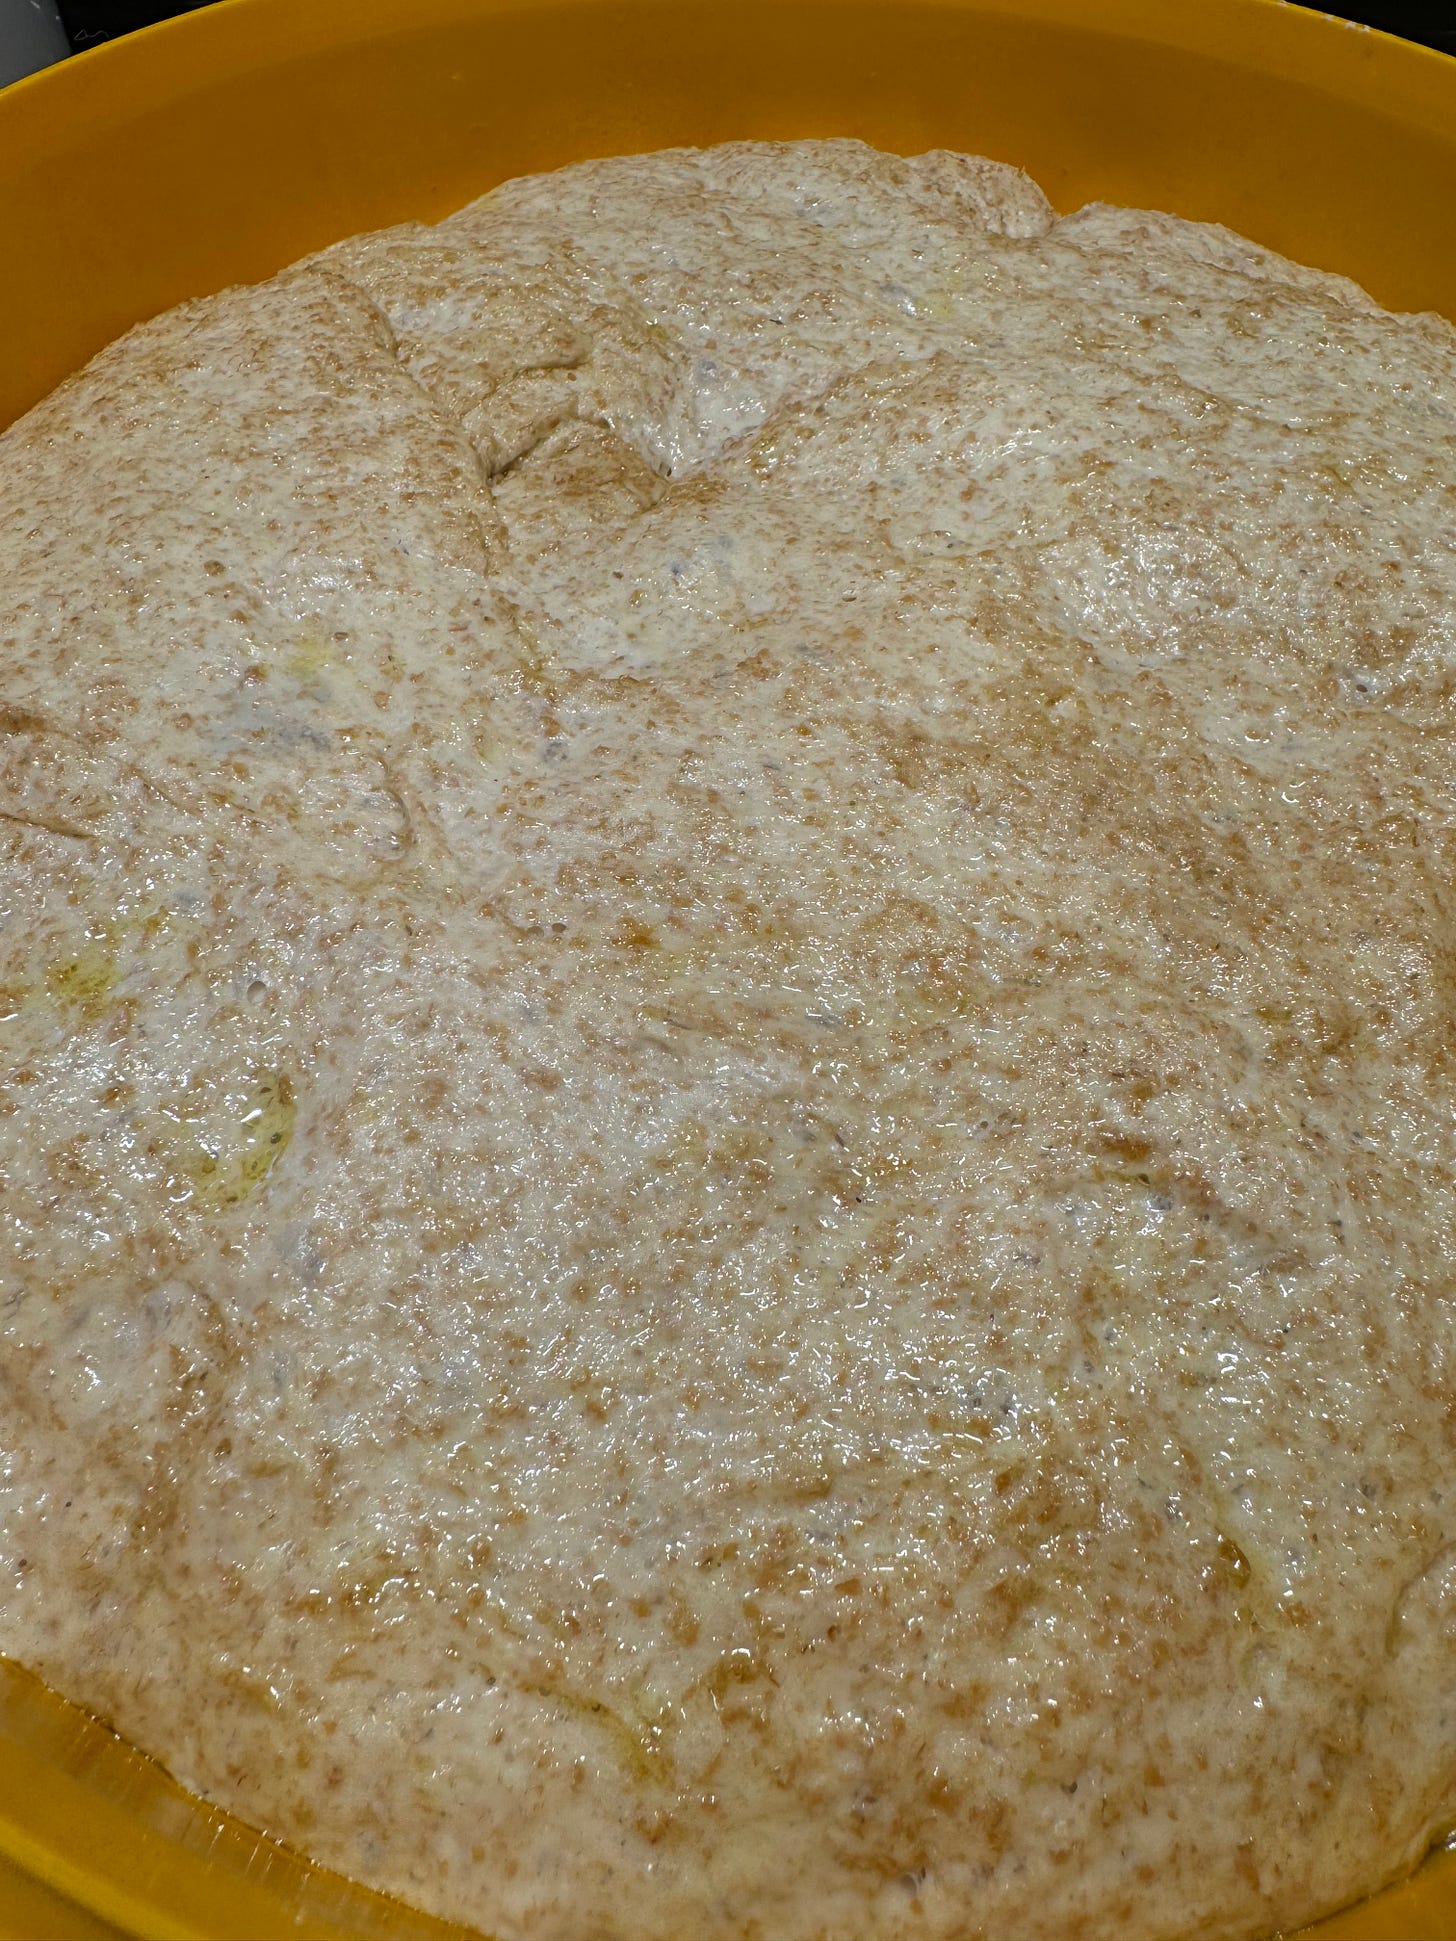
This is my dough after 90 minutes rising ⬇️; it reaches the top of the bowl:
Punch the dough down well to remove air bubbles. Divide into two equal portions. Shape each ball into long logs and place into greased loaf pans.
Do NOT knead the dough.
Second rise: Spray two pieces of plastic wrap with cooking spray and lay them gently over the pans. Allow dough to rise again for about 45 minutes to one hour, or until risen about 1 inch above the loaf pans. Gently removing covering.
If you use a kitchen towel for this, it likely will stick and pull on the dough, causing it to lose its rise. For this reason, I use plastic wrap and cover the dough side with oil. Then I return the pans to the top of the stove and open and close the oven door to let a bit of heat escape, assisting the second rise.
You can see the starting level of the dough here:
When the timer has 10 minutes left to rise, I preheat my oven to 350F. You can see that both loaves are overflowing ⬇️.
Bake: Preheat oven to 350 F. Bake bread for about 30-33 minutes, or until golden brown on top. Give the top of a loaf a gentle tap; it should sound hollow.
Don't expect the top of the bread to be “brown” like store-bought bread. And instead of inverting onto a cooling rack right away, I wait 10 minutes.
Invert the loaves onto a wire cooling rack. Brush the tops with butter and allow to cool for at least 10 minutes before slicing.
Once cool, store in an airtight container or bag for 2-3 days at room temperature, or up to 5 days in the refrigerator.
Notes
Flour: Bread flour or all-purpose can both be used with no changes to the recipe. Bread flour will produce a slightly chewier loaf. Whole wheat flour can’t be substituted cup-for-cup because it’s gluten levels are different. Here is my favorite Whole Wheat Bread recipe.
As previously stated, I use white or bread flour for the first 3 cups, and wheat flour for the rest of the recipe, save for a bit on the pastry board.
Yeast: to substitute Instant or Rapid Rise yeast, skip the “proofing” of the dough in the first step and add the yeast to the bowl with step 2. Allow the dough to complete its first rise, and then roll and shape into loaves and rise again (rise times will be much faster with instant yeast).
Quick-rise Tip: To speed up the rising time of the first rise, make dough up to first rising, placing it in a well greased bowl, turning it once to grease the dough all over. Cover bowl with plastic wrap. Preheat oven to 180 degrees F, then turn oven off. Place bowl into the oven, leaving the oven door slightly cracked open. Allow to rise until doubled. Then remove, punch down and shape into loaves.
To make ahead: Make the bread dough through step 4, before the first rise. Place in a large airtight container, and refrigerate for up to one day. Remove from fridge and allow to come to room temperature. Proceed with punching down and forming loaves.
Freezing Instructions:
To freeze the dough: Prepare the recipe through step (6), before the second rise. Place the shaped loaves into a freezer-safe or disposable aluminum bread pan. Cover tightly with a double layer of aluminum foil and freeze for up to 3 months. When ready to bake, allow the loaves to thaw and complete the second rise, at room temperature (about 5 hours). Bake as directed.
To freeze baked bread: Allow baked bread to cool completely. Place each loaf in a freezer-safe resealable bag and freeze for up to 3 months. Thaw at room temperature on the countertop, or overnight in the refrigerator.
Bread Machine: If using a bread machine, you may want to cut this recipe in half to make 1 loaf (depending on the capacity of your machine).
Source: https://tastesbetterfromscratch.com/bread-recipe/
WHAT I REALLY THINK
I sat down and took a good look at my store-bought bread, noting every ingredient below. And my conclusion is that:
Keep reading with a 7-day free trial
Subscribe to Renew And Refresh to keep reading this post and get 7 days of free access to the full post archives.


